Preparation
The foundation of a flawless paint finish lies in meticulous preparation. Just like a painter meticulously prepares their canvas, you must ensure your cabinets are ready to receive a smooth, even coat of paint. Neglecting this crucial step can lead to uneven paint application, imperfections, and a less-than-ideal finish.
Cleaning and Degreasing
Before sanding or filling, it’s essential to clean the cabinet surfaces thoroughly. This removes dust, dirt, grease, and any other contaminants that can interfere with paint adhesion.
- Start by wiping down the cabinets with a damp cloth to remove loose debris.
- For tougher grime, use a mild dish soap solution. Avoid harsh chemicals or abrasive cleaners that could damage the cabinet surfaces.
- Once clean, use a degreaser specifically designed for wood to eliminate any greasy residue. Allow the surfaces to dry completely before proceeding.
Sanding Techniques
Sanding is a vital step in achieving a smooth finish. It helps to create a uniform surface for the paint to adhere to and removes any imperfections that might show through the final coat.
- Begin with a coarse-grit sandpaper (80-120 grit) to remove any major imperfections, scratches, or old paint.
- Progress to a medium-grit sandpaper (120-180 grit) to smooth out the surface and remove any remaining scratches from the coarser sandpaper.
- Finish with a fine-grit sandpaper (220-400 grit) to create a very smooth surface for painting. This final sanding step ensures a smooth, even paint application.
- Sanding patterns are crucial for achieving a consistent finish. Use long, even strokes in one direction, followed by cross-grain strokes to ensure all areas are evenly sanded.
Filling Gaps and Imperfections
Wood filler is essential for filling in gaps, holes, and other imperfections. This step creates a smooth, seamless surface for painting.
- Choose a wood filler that matches the type of wood you’re working with.
- Apply the filler using a putty knife, ensuring it fills the gaps completely.
- Let the filler dry completely before sanding it flush with the surface using a fine-grit sandpaper. This ensures a smooth, even surface for painting.
Priming
Priming is a critical step in preparing your cabinets for painting. It creates a barrier between the wood and the paint, ensuring better adhesion and preventing the wood from absorbing the paint.
- Choose a primer specifically designed for wood.
- Apply the primer using a brush, roller, or spray gun, ensuring even coverage.
- Let the primer dry completely before applying the paint.
Painting Techniques for a Smooth Finish
Achieving a flawless paint finish on your cabinets requires more than just slapping on some paint. It’s an art form that demands precision, patience, and the right techniques. This section explores the different methods of applying paint to your cabinets, highlighting their advantages, disadvantages, and tips for achieving a professional-looking finish.
Choosing the Right Painting Method
The method you choose to apply paint to your cabinets can significantly impact the final outcome. Each method has its own set of advantages and disadvantages, making it essential to consider your specific needs and preferences.
- Brushing: Brushing is a traditional method that allows for precise control and is ideal for reaching corners and intricate details. However, it can be time-consuming and prone to brush strokes if not done carefully.
- Rolling: Rolling is a faster and more efficient method for large surfaces, providing a smooth and even finish. However, it can be difficult to reach corners and may leave roller marks if not applied correctly.
- Spraying: Spraying offers the fastest and most even coverage, resulting in a professional-looking finish. However, it requires specialized equipment and can be messy if not done properly.
Brushing Techniques for a Smooth Finish
Brushing is an excellent method for achieving a smooth finish, especially when dealing with intricate details or corners. Here’s how to master the art of brushing:
- Choose the Right Brush: Opt for a high-quality brush with natural or synthetic bristles suitable for the type of paint you’re using.
- Load the Brush Properly: Dip the brush into the paint, ensuring it’s fully loaded without excess paint dripping.
- Apply Paint in Thin Coats: Apply thin, even coats of paint, allowing each coat to dry completely before applying the next. This minimizes the risk of brush strokes and ensures a smooth finish.
- Use Long, Smooth Strokes: Apply paint in long, smooth strokes, blending each stroke into the next. Avoid stopping and starting abruptly, as this can leave visible brush marks.
- Feather the Edges: When reaching the edges of your cabinets, feather the paint by gently blending it into the surrounding area. This helps to create a seamless transition.
- Clean Your Brush Regularly: Clean your brush thoroughly with paint thinner or soap and water after each use. This ensures that the bristles remain soft and free of paint build-up, preventing streaks and brush marks.
Rolling Techniques for a Smooth Finish
Rolling is a popular method for achieving a smooth finish on large surfaces. Here’s how to roll like a pro:
- Choose the Right Roller: Select a high-quality roller with a nap length suitable for the type of paint and surface you’re working with. A shorter nap is ideal for smooth surfaces, while a longer nap is better for textured surfaces.
- Load the Roller Properly: Dip the roller into the paint tray, ensuring it’s fully loaded without excess paint dripping.
- Apply Paint in Even Coats: Apply paint in even, overlapping coats, working in sections to ensure complete coverage.
- Use Long, Smooth Strokes: Apply paint in long, smooth strokes, blending each stroke into the next. Avoid stopping and starting abruptly, as this can leave roller marks.
- Roll in Different Directions: Roll in different directions, such as vertical, horizontal, and diagonal, to help blend the paint and create a smooth finish.
- Clean Your Roller Regularly: Clean your roller thoroughly with paint thinner or soap and water after each use. This ensures that the roller cover remains soft and free of paint build-up, preventing streaks and roller marks.
Spraying Techniques for a Smooth Finish
Spraying is the most efficient method for achieving a smooth, even finish, especially for large surfaces. However, it requires specialized equipment and a bit more experience:
- Choose the Right Sprayer: Select a high-quality sprayer that’s suitable for the type of paint and surface you’re working with.
- Prepare the Sprayer: Clean the sprayer thoroughly before using it and practice spraying on a test surface to adjust the settings for optimal paint flow and coverage.
- Apply Paint in Thin Coats: Apply paint in thin, even coats, allowing each coat to dry completely before applying the next.
- Maintain a Consistent Distance: Hold the sprayer at a consistent distance from the surface, usually about 12 inches. This ensures even paint distribution and prevents runs or drips.
- Use Overlapping Strokes: Use overlapping strokes to ensure complete coverage and avoid dry spots.
- Clean Your Sprayer Thoroughly: Clean your sprayer thoroughly with paint thinner or soap and water after each use. This prevents paint build-up and ensures optimal performance for future use.
Avoiding Common Paint Imperfections
Even with the right techniques, common paint imperfections can still occur. Here are some tips to avoid them:
- Brush Strokes: Avoid brush strokes by applying thin coats of paint and using long, smooth strokes.
- Roller Marks: Avoid roller marks by applying even coats of paint, using a high-quality roller, and rolling in different directions.
- Runs and Drips: Avoid runs and drips by applying thin coats of paint and letting each coat dry completely before applying the next.
- Uneven Coverage: Avoid uneven coverage by applying paint in even coats and using a high-quality paint brush or roller.
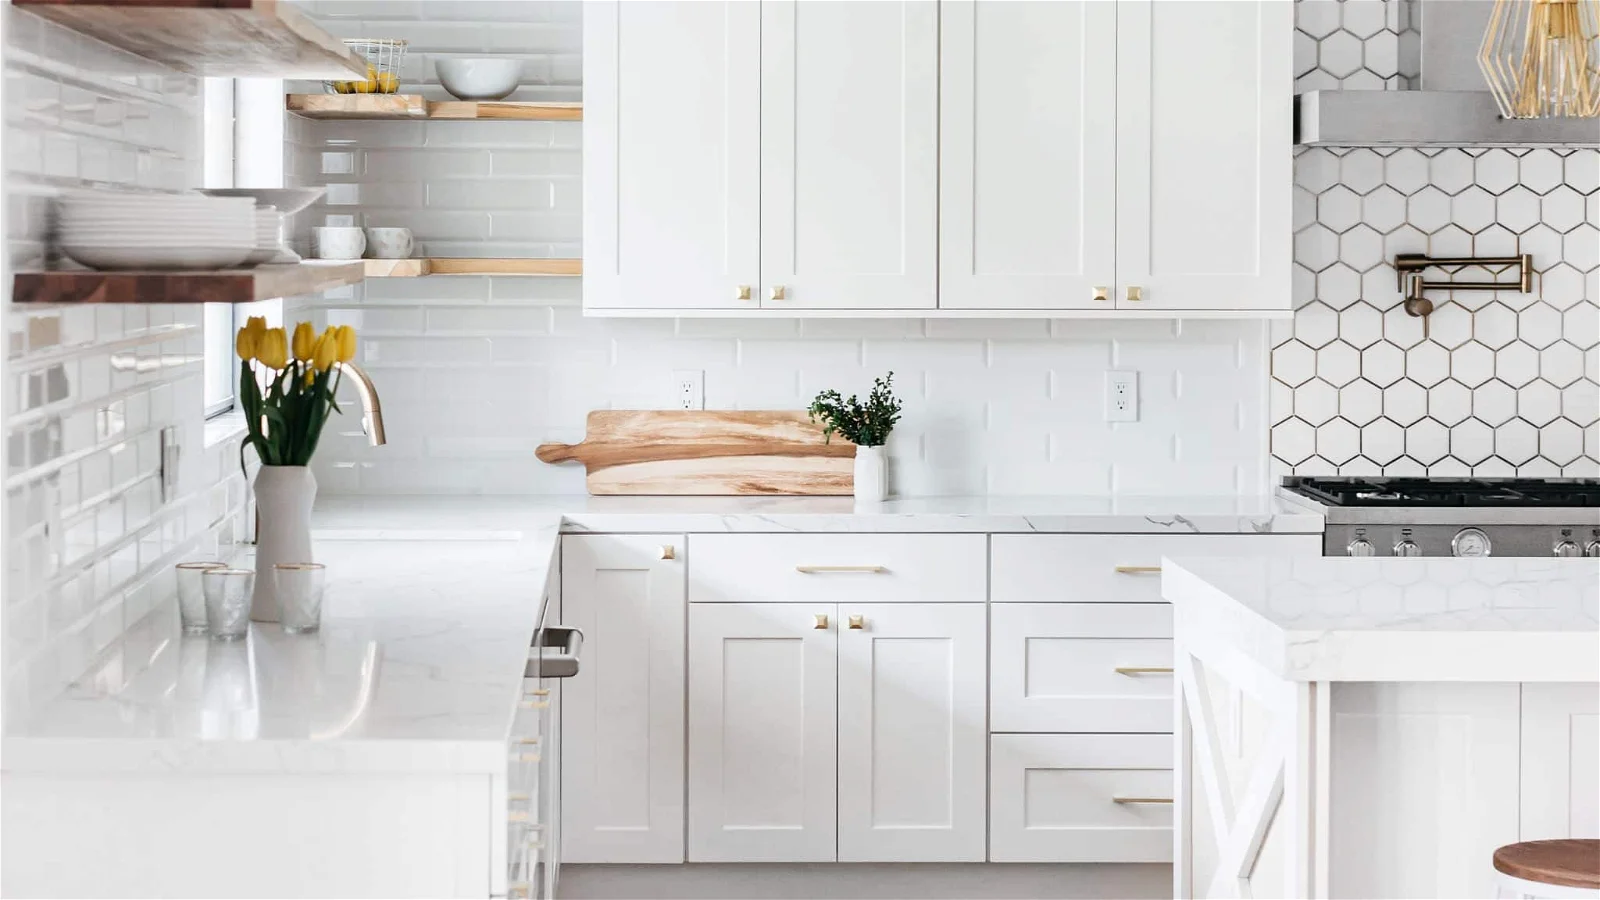
Achieving a Professional Finish: How To Get Smooth Paint Finish On Cabinets

The pursuit of a flawless paint finish on your cabinets is a journey of precision and patience. It’s not just about slapping on the paint and hoping for the best; it’s about understanding the nuances of each step and addressing potential pitfalls. By mastering the art of preparation, wielding the right tools, and employing strategic techniques, you can achieve a finish that rivals the work of a professional.
Common Mistakes Leading to Uneven Paint Finish
Mistakes can happen, and even the most seasoned painter can fall prey to them. Recognizing common errors is the first step to avoiding them. Here are some pitfalls to be aware of:
- Insufficient Sanding: The foundation of a smooth paint finish lies in proper sanding. Skipping this crucial step can lead to uneven paint application and a rough, uneven surface. Sanding helps to create a smooth, uniform surface for the paint to adhere to, resulting in a more professional-looking finish.
- Uneven Paint Application: A heavy hand with the paintbrush or roller can result in drips, runs, and uneven coverage. It’s essential to apply thin, even coats of paint, allowing each coat to dry thoroughly before applying the next.
- Not Using a Primer: Primers serve as a bridge between the surface and the paint, promoting adhesion and ensuring a uniform finish. Skipping the primer can lead to paint peeling, chipping, and uneven coverage, especially on surfaces with imperfections or a previous paint layer.
- Not Cleaning Brushes and Rollers: Leftover paint on brushes and rollers can dry and harden, leaving streaks and imperfections on the next coat. It’s crucial to clean your tools thoroughly after each use, ensuring they are free of paint residue before the next painting session.
- Improper Drying Time: Rushing the drying process can lead to a compromised paint finish. Each coat of paint requires adequate drying time to ensure proper adhesion and prevent smudging or unevenness. Allowing ample drying time between coats is essential for achieving a smooth, professional-looking finish.
Types of Paint Finishes
Choosing the right paint finish for your cabinets is essential for achieving the desired look and feel. Each finish offers a unique level of sheen and durability, catering to different preferences and needs.
| Paint Finish | Sheen | Suitability for Cabinets | Durability |
|---|---|---|---|
| Flat | No sheen | Ideal for hiding imperfections, but less durable | Low |
| Matte | Low sheen | Good for a subtle sheen, hides minor imperfections | Moderate |
| Eggshell | Slightly glossy | Offers a soft sheen, easy to clean | Moderate |
| Satin | Moderate sheen | Versatile, easy to clean, good for high-traffic areas | High |
| Semi-gloss | High sheen | Provides a glossy finish, easy to clean, durable | High |
| Gloss | Very high sheen | Provides a mirror-like finish, easy to clean, very durable | Very high |
Applying Multiple Coats of Paint
Multiple coats of paint are often necessary to achieve a smooth, even finish. Applying multiple coats allows the paint to build up, creating a more opaque and durable surface. Here’s a step-by-step guide for applying multiple coats of paint:
- Prepare the Surface: Ensure the surface is clean, dry, and free of dust or debris. Thoroughly sand the surface to create a smooth, even base for the paint.
- Apply the First Coat: Apply a thin, even coat of primer to the surface. Allow the primer to dry completely according to the manufacturer’s instructions.
- Sand Between Coats: Once the primer has dried, lightly sand the surface with fine-grit sandpaper. This helps to create a smooth, even surface for the next coat of paint.
- Apply the First Coat of Paint: Apply a thin, even coat of paint to the surface. Allow the paint to dry completely according to the manufacturer’s instructions.
- Sand Between Coats (Optional): If desired, lightly sand the first coat of paint with fine-grit sandpaper. This helps to create a smooth, even surface for the next coat of paint.
- Apply Additional Coats: Apply additional coats of paint as needed, allowing each coat to dry completely before applying the next. The number of coats required will depend on the desired level of coverage and the type of paint used.
Achieving Different Paint Finishes
The desired finish can be achieved by employing specific techniques and using the right type of paint. Here’s a breakdown of techniques for achieving different finishes:
High-Gloss Finish
A high-gloss finish is achieved by using a high-gloss paint and applying multiple thin coats. Each coat should be allowed to dry completely before applying the next. A high-gloss finish requires a smooth, even surface, so proper sanding and preparation are crucial.
Satin Finish
A satin finish offers a moderate sheen and is achieved by using a satin paint. Multiple thin coats are recommended, allowing each coat to dry completely before applying the next. Satin finishes are generally easier to achieve than high-gloss finishes and are less prone to showing imperfections.
Matte Finish
A matte finish offers a low sheen and is achieved by using a matte paint. Multiple thin coats are recommended, allowing each coat to dry completely before applying the next. Matte finishes are known for their ability to hide imperfections, making them a good choice for surfaces that may not be perfectly smooth.
Troubleshooting Common Paint Problems, How to get smooth paint finish on cabinets
Paint problems can occur, but knowing how to troubleshoot them can save you time and frustration. Here are some common paint problems and solutions:
Drips and Runs
Drips and runs are caused by applying paint too thickly or not allowing enough drying time between coats. To avoid drips and runs, apply thin, even coats of paint and allow each coat to dry completely before applying the next. If drips or runs occur, allow them to dry completely, then lightly sand them smooth with fine-grit sandpaper before applying another coat of paint.
Uneven Coverage
Uneven coverage can be caused by insufficient sanding, poor paint application, or not using a primer. To avoid uneven coverage, ensure the surface is properly prepared, apply thin, even coats of paint, and use a primer if necessary. If uneven coverage occurs, apply another thin coat of paint to the affected areas.
Brush Marks
Brush marks can be caused by using a brush that is too dry or applying paint too thickly. To avoid brush marks, use a brush that is slightly damp with paint and apply thin, even coats. If brush marks occur, allow them to dry completely, then lightly sand them smooth with fine-grit sandpaper before applying another coat of paint.
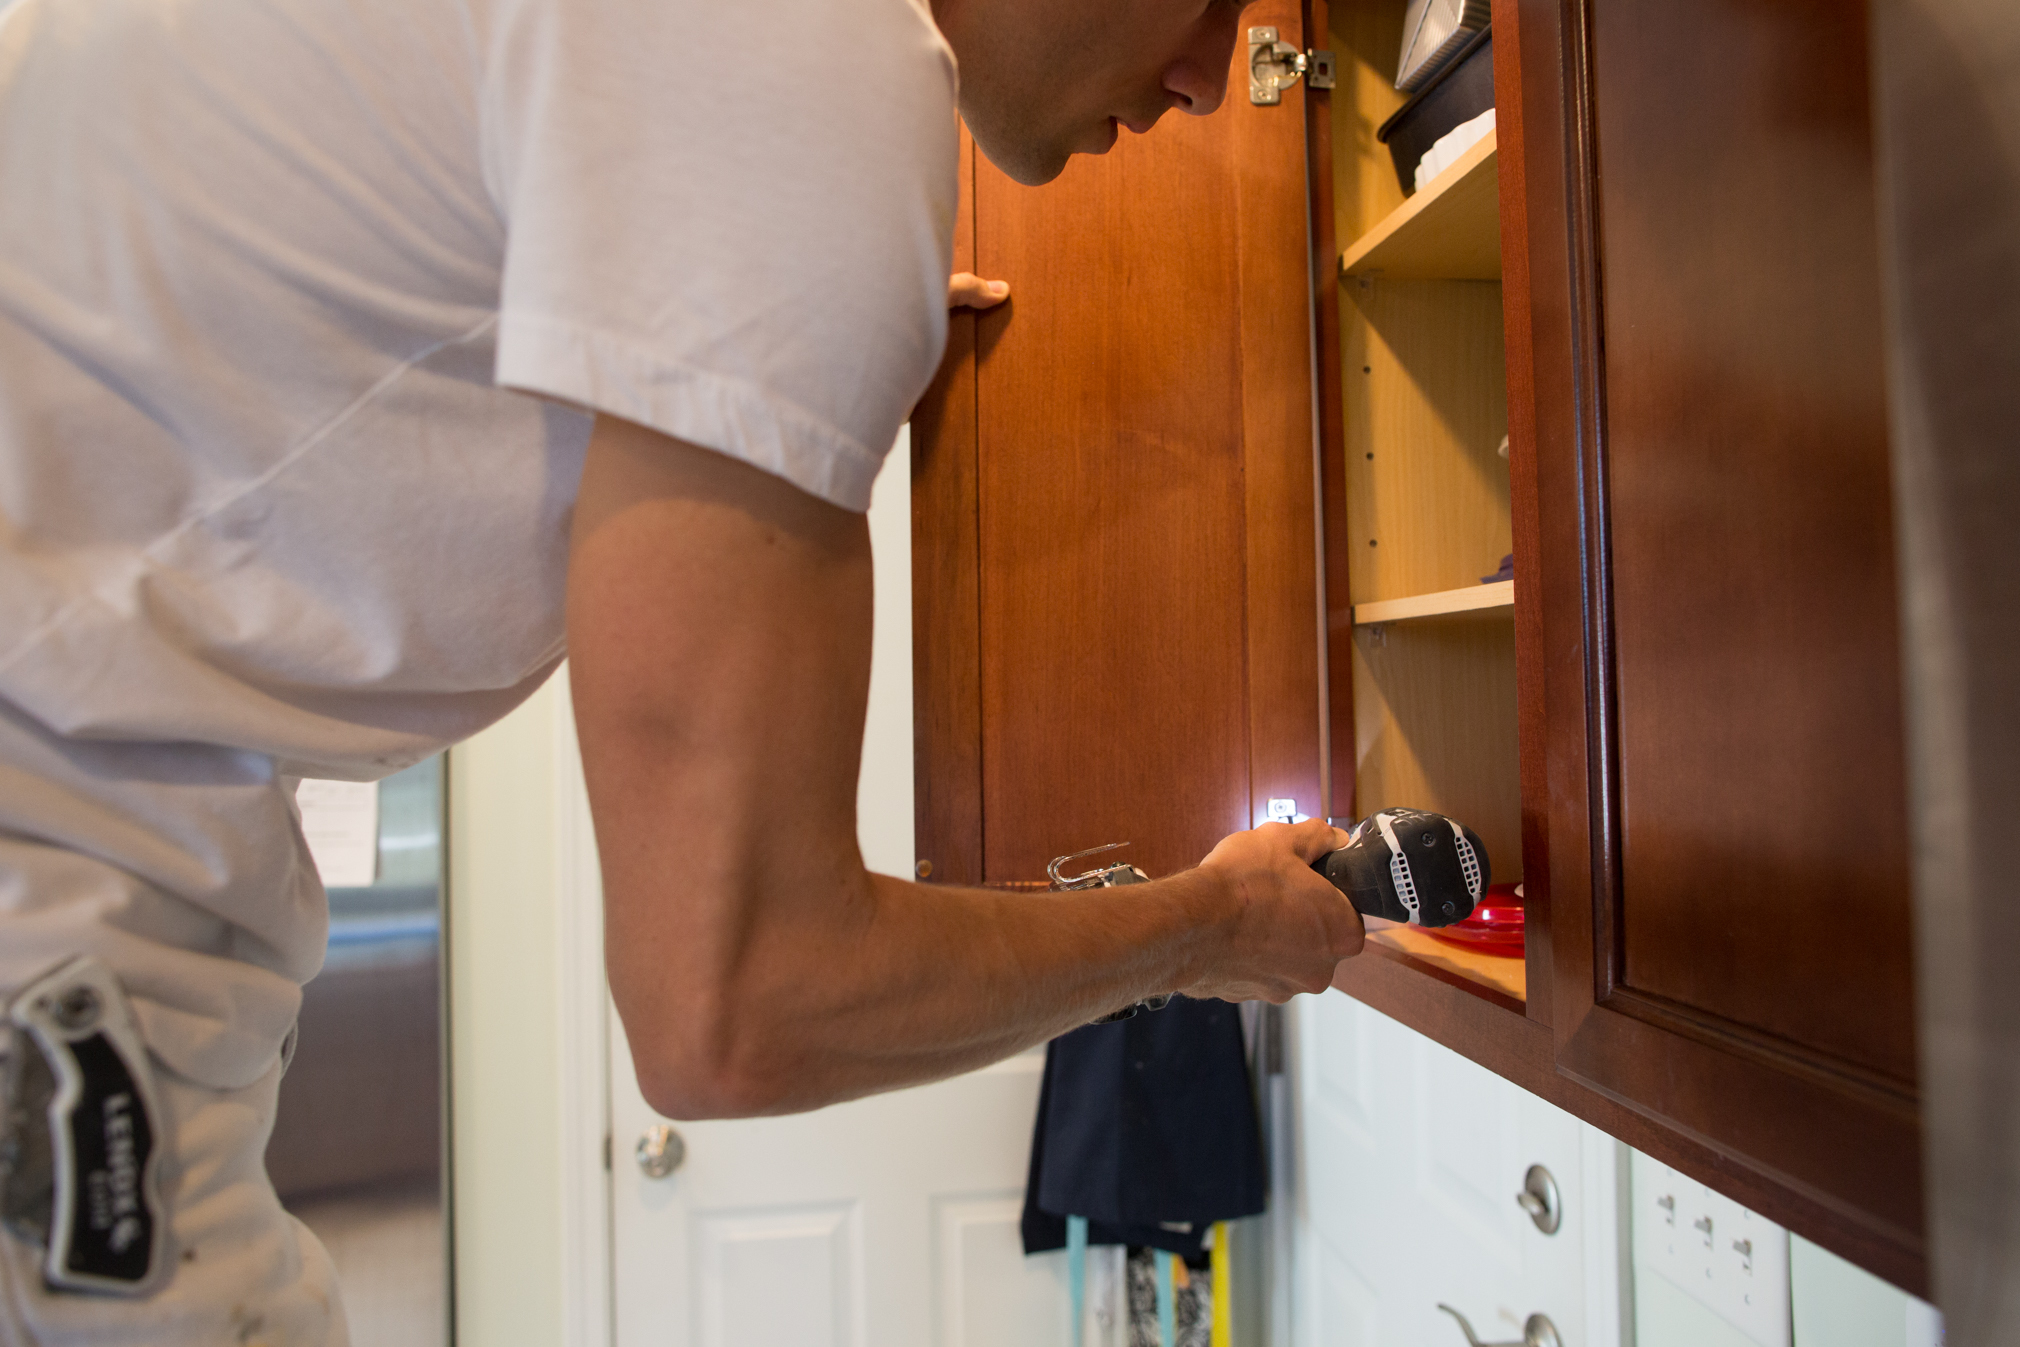
How to get smooth paint finish on cabinets – Achieving a smooth paint finish on cabinets requires meticulous preparation, including sanding, cleaning, and priming. While focusing on the exterior, don’t overlook the interior, as painting inside of cabinets can enhance storage organization and aesthetics. This step ensures a cohesive look, especially when the cabinet doors are open.
Finally, applying thin, even coats of paint with a high-quality brush or roller will contribute to a professional, smooth finish.
Achieving a smooth paint finish on cabinets requires meticulous preparation, including sanding and priming. The Driggs 4 Door Accent Cabinet, available here , showcases the potential for a beautifully finished piece. Once the cabinet surface is properly prepped, applying thin, even coats of paint and allowing ample drying time between coats will contribute to a professional-looking, durable finish.
